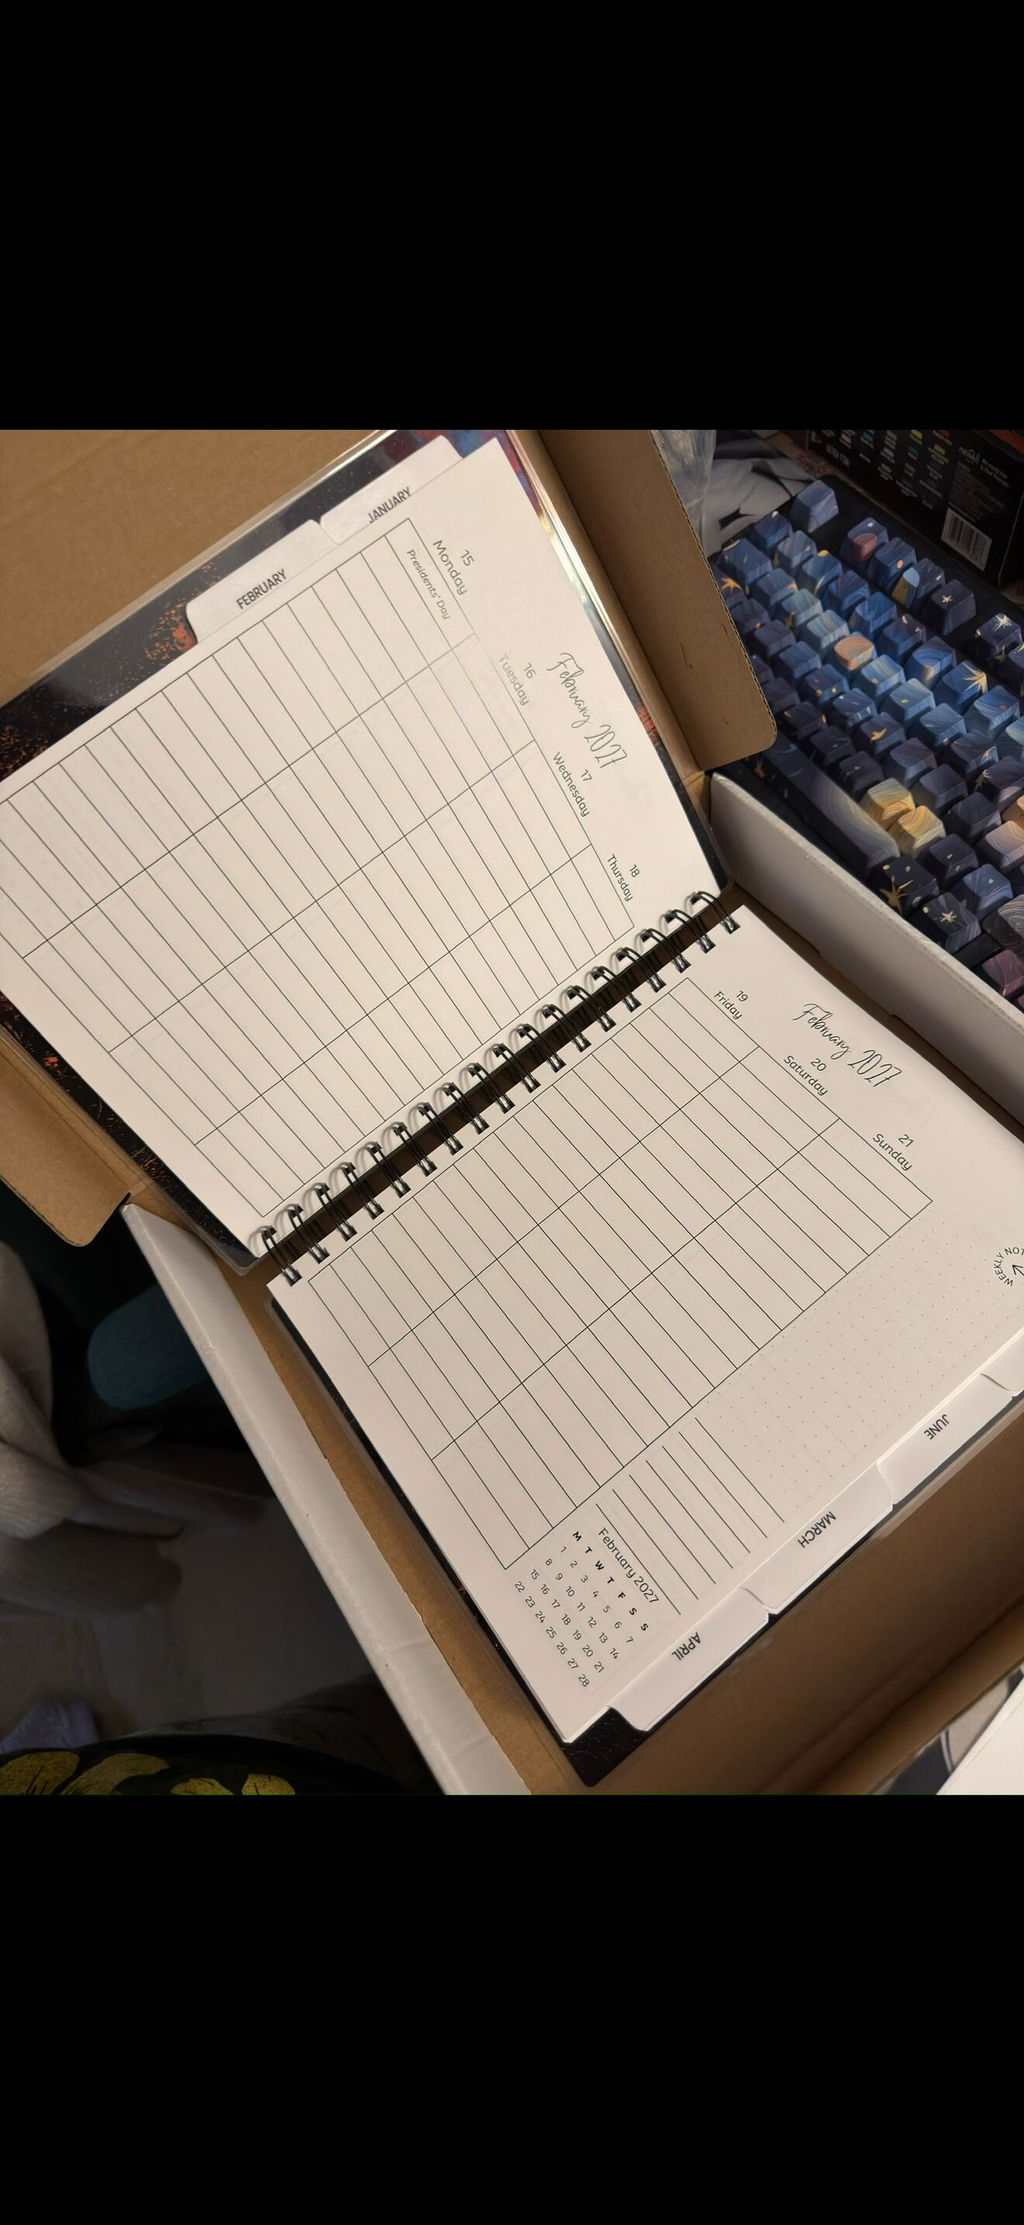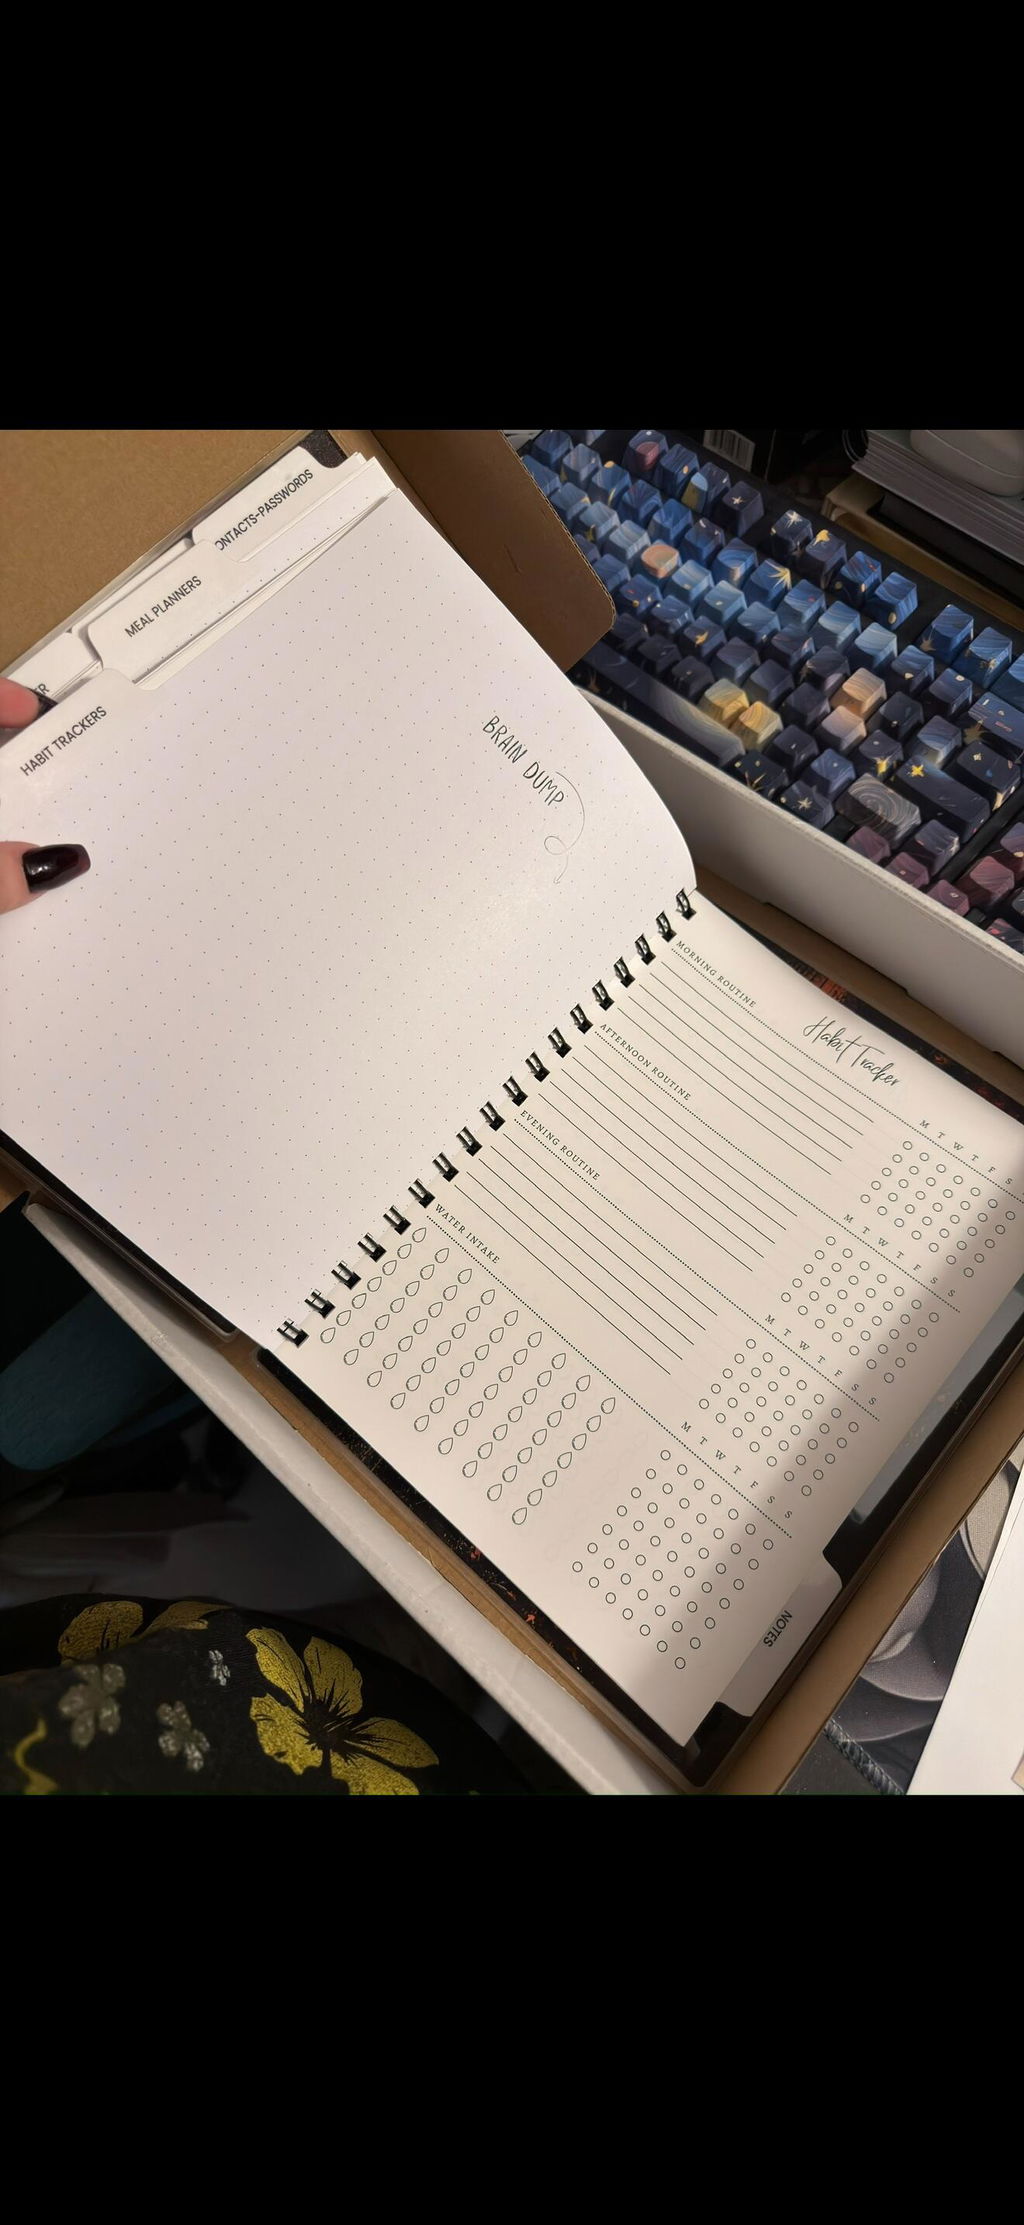

A well-set-up teacher planner can turn a demanding school year into something far more manageable. Instead of scattering dates, lesson ideas, student notes, and reminders across several places, you create one reliable home for the information you use every day.
The key is not filling every page before school begins. It is building a simple system you can maintain when the semester gets busy. Use this step-by-step guide to create a teacher lesson planner that supports the way you actually teach.
1. Choose one purpose for your planner
Before adding dates or decorating pages, decide what your planner will manage. Will it be your complete teaching command center, or will it focus mainly on lesson plans and weekly priorities?
Write that purpose inside the front cover. A clear role prevents the planner from becoming a catch-all for information that belongs somewhere else.
2. Add the school year's fixed dates
Start with dates that are unlikely to change:
- First and last days of school
- Holidays and school breaks
- Teacher workdays and professional development
- Grading periods and report card deadlines
- Testing windows
- Parent conferences and open-house events
Add these to your yearly or monthly overview first. Then transfer only the details you need to the relevant weekly pages. This gives you a dependable big-picture calendar without crowding every spread.
3. Create a simple color system
Color coding works best when it answers a question at a glance. Keep your categories limited so the system remains useful. For example:
- One color for instruction: lessons, units, and assessments
- One color for administration: meetings, forms, and deadlines
- One color for students and families: conferences, follow-ups, and communication
- One color for personal commitments: appointments and protected time
Use the same colors throughout the year. Consistency matters more than creating an elaborate key.
4. Map your recurring weekly routine
Add the commitments that repeat each week, such as planning periods, team meetings, supervision duties, intervention blocks, and regular communication tasks.
Seeing these fixed responsibilities first makes it easier to judge how much flexible time is truly available. It also helps prevent lesson planning from competing with every other task on your list.
5. Build lessons from outcomes backward
For each unit, begin with the learning outcome or assessment. Then work backward to identify the lessons, practice, materials, and checkpoints students will need.
On the weekly spread, keep entries short enough to scan quickly. A useful lesson note might include:
- The objective or standard
- The main activity
- Required materials
- An assessment or exit check
- A brief differentiation reminder
Store lengthy lesson details in your preferred digital or paper system, and use the planner as your clear daily roadmap.
6. Reserve space for student notes
Choose a consistent place for brief, factual follow-up notes. You might track students who need reteaching, family contact, missing work, accommodations, or positive recognition.
Avoid recording sensitive information that should live in an approved school system. Your planner should prompt the next action, not replace official records.
7. Set three realistic weekly priorities
Teaching creates an endless list, so identify the three outcomes that matter most each week. These might include finishing a unit plan, returning assessments, or preparing materials for an upcoming project.
Place these priorities where you will see them every day. When new requests appear, use the list to decide what must happen now and what can wait.
8. Add a Friday reset
A short weekly reset keeps the planner useful. Before leaving on Friday, or during your final planning block:
- Check off completed tasks.
- Move unfinished work intentionally rather than copying everything forward.
- Review next week's dates and materials.
- Note students or families who need follow-up.
- Clear loose papers and update your priority list.
Even ten focused minutes can make Monday morning feel significantly calmer.
9. Review the system after the first month
Your initial setup is a starting point, not a permanent rule. After several weeks, notice which sections you use and which you skip. Simplify anything that takes more time than it saves.
A teacher planner should reduce mental load. The best system is not the most detailed one; it is the one you can trust during your busiest week.
Find a planner that fits your teaching style
Your schedule, subjects, and planning habits are personal, so your planner should feel personal too. Explore our Teacher Lesson Planners to find a design that can support your classroom and your school year.